
ClickFree Ghost Product installation for Android Phones and Tablets
A Step-by-Step Guide to Installing Ghost VPN by Clickfree for Android (gVPN Product Installation for Android phones and tablets)
Installation Guide:
-
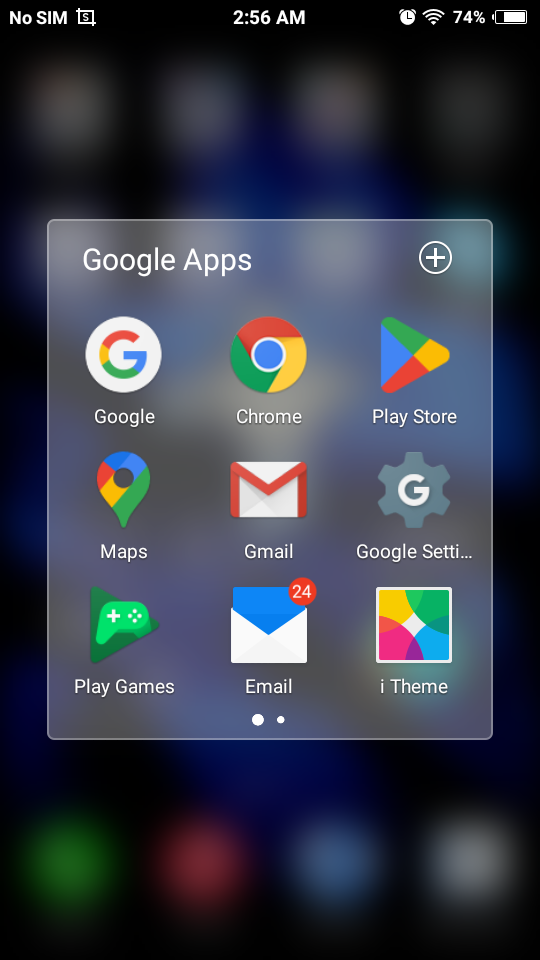
On your Android Phone/Tablet’s 'Home Screen' interface, go to Google Play Store and type in the gVPN App name: “ClickFree Ghost”.
Or directly get this app by clicking this link https://play.google.com/store/apps/details?id=ghostclickfree.vpn&hl=en correctly.
-
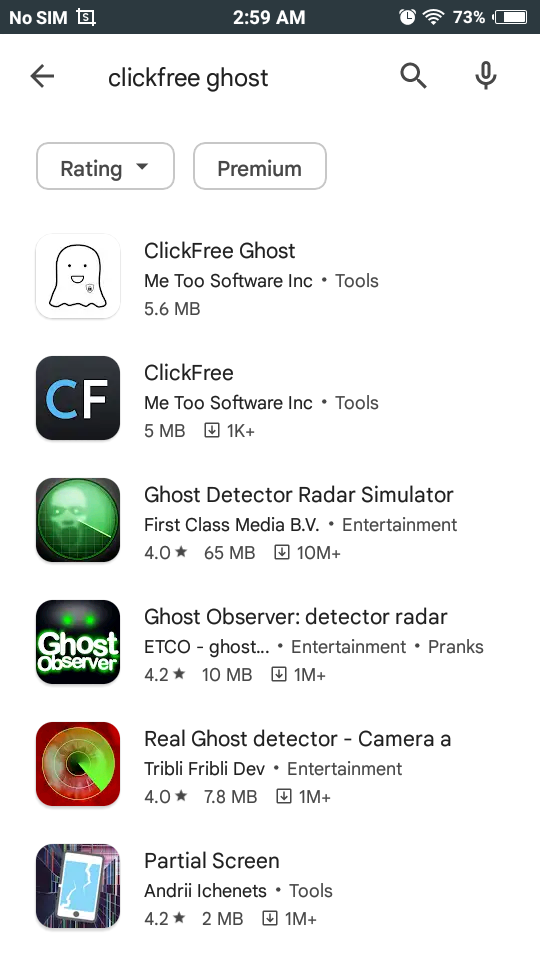
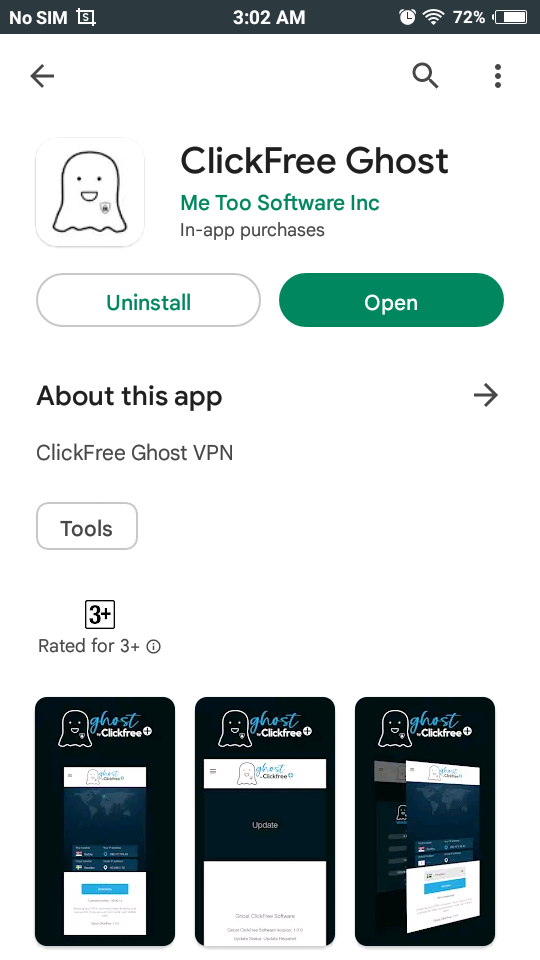
When manually typed and searched, make sure to get the gVPN App correctly.
App Identity Note: ClickFree Ghost by Me Too Software, Inc.

-
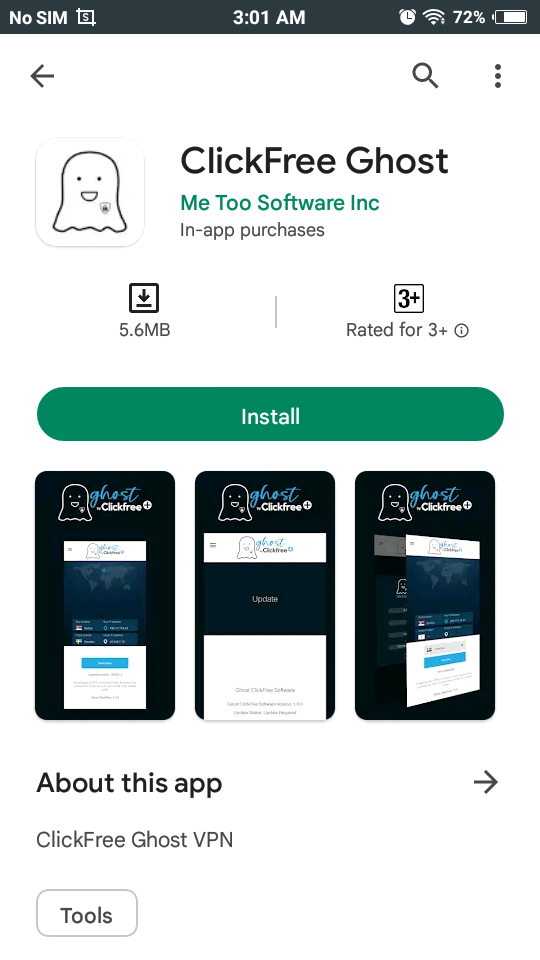
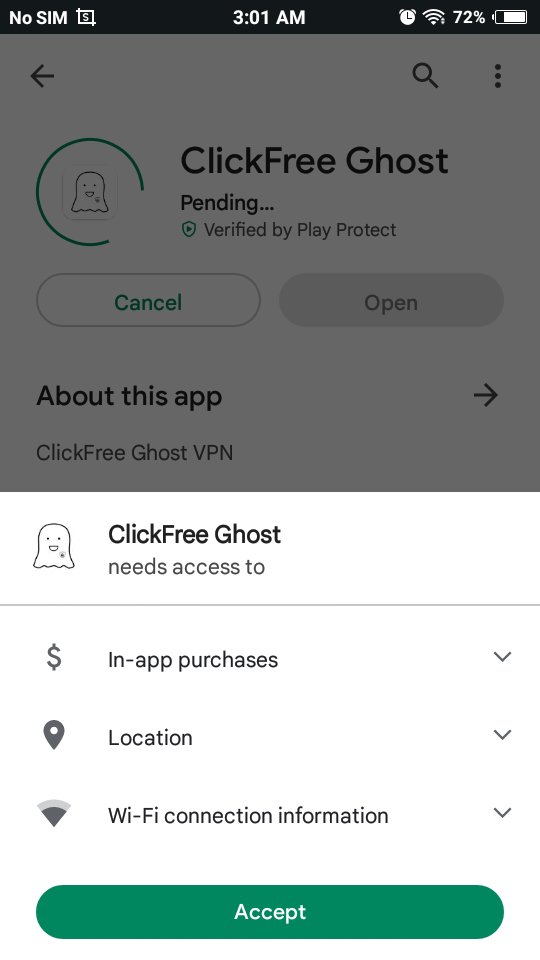
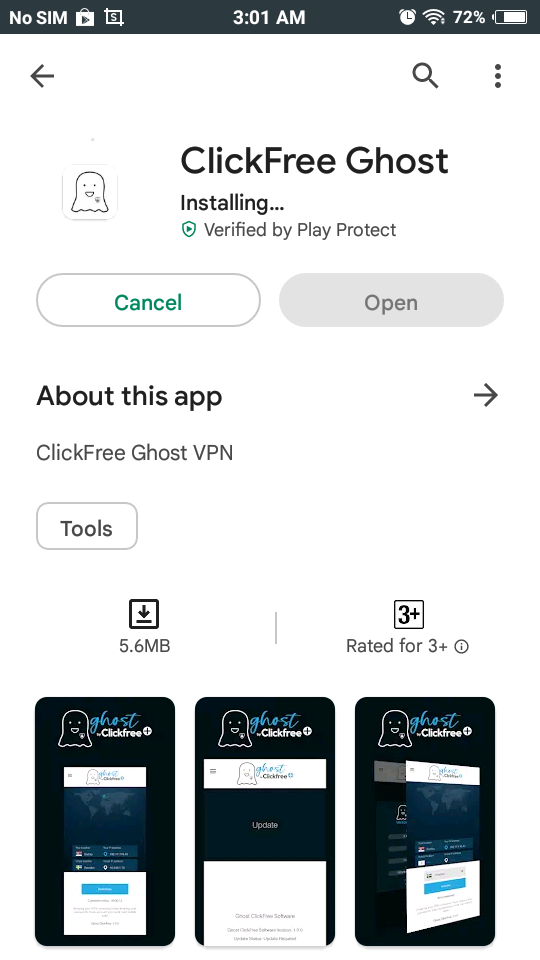
Next step is to click the “Install”
button, to download and install the gVPN App. After clicking the “Install” button, Click the “Accept” button to proceed to installing the App.
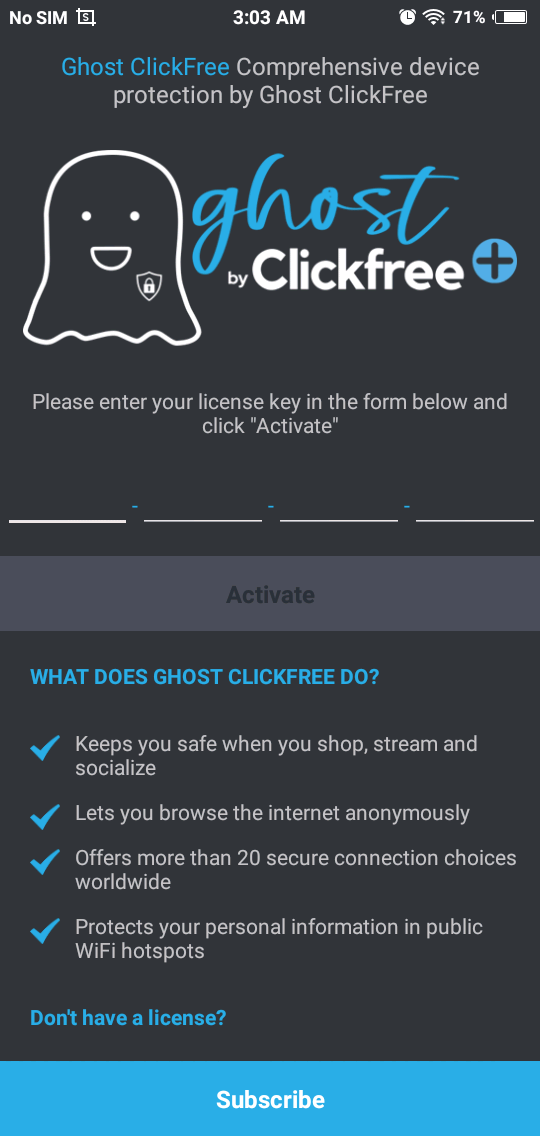
5. Afterwards, the landing page of the gVPN will populate, asking for a “License Key”. Please provide your dedicated license key to “Activate” your Ghost VPN by Clickfree gVPN subscription.
IMPORTANT NOTE: The license key is given upon purchasing the product. It usually consists of a “20 ALPHANUMERIC” input.
-
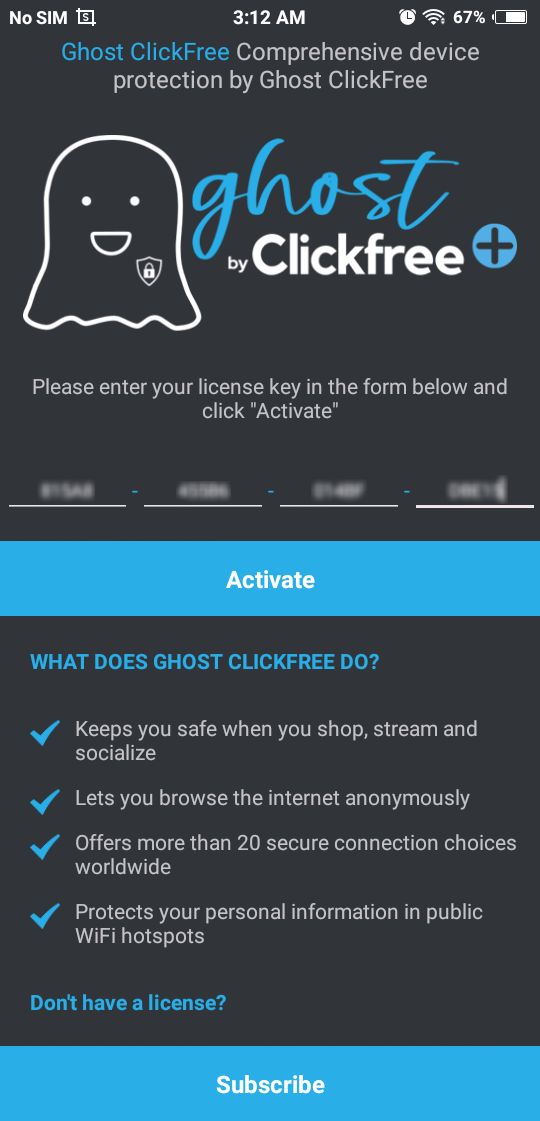
After filling in the license key in the form bars, click or hit the “Activate” button.
Note: Please wait while the application features are being updated. Please standby for a moment. The gVPN software is getting ready.
-
Choose your preferred Ghost VPN Server Address to hide your real and current IP location to avoid personal data leakage that is confidential or worse, hacking.
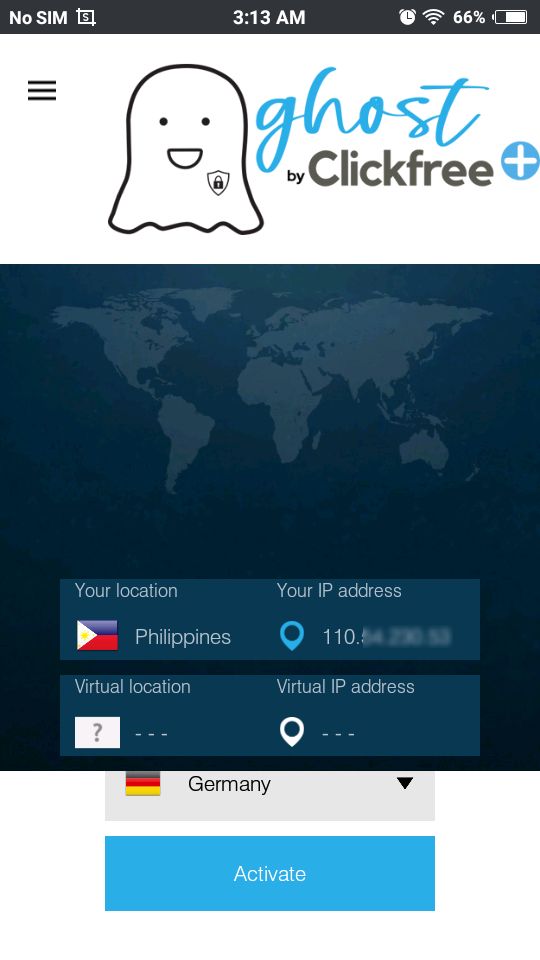
NOTE: On the interface, click the dropdown menu to show different virtual network servers for you to choose, and select the virtual location and virtual IP address.
Dropdown Server Location Guide:
-
CLICK or SELECT your chosen virtual location that is available in the given option. (Example: Germany)
-
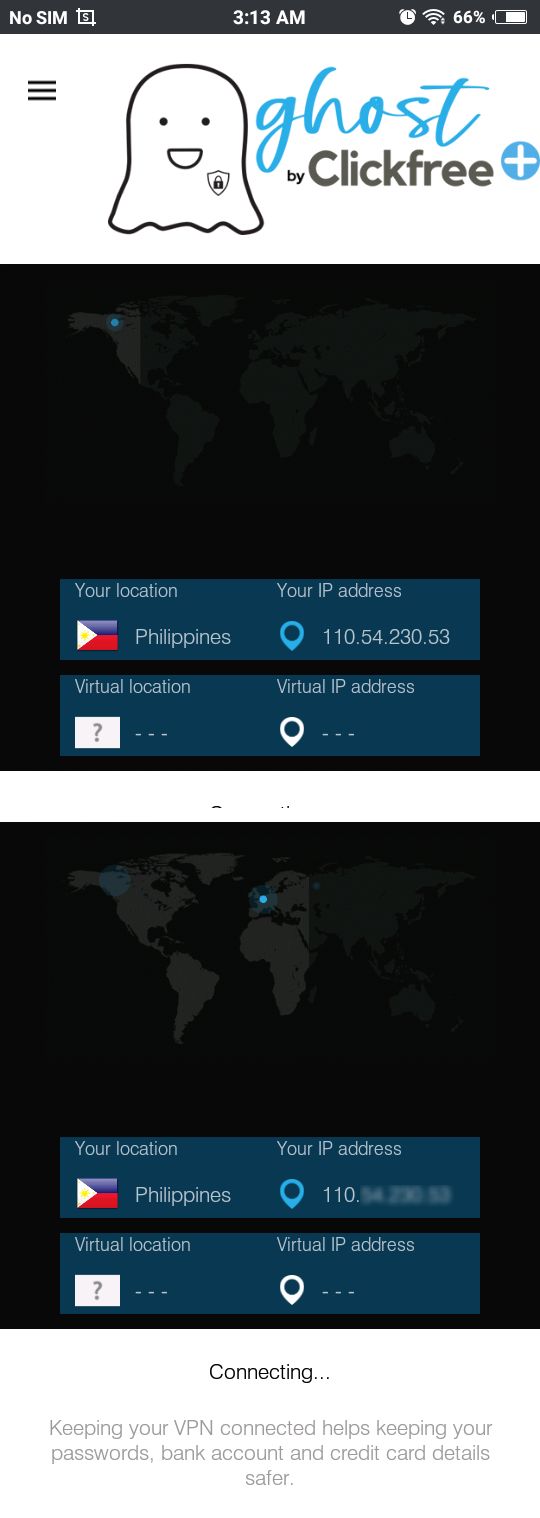
When activated, it will start connecting to the chosen virtual network server.
-
Afterwards, it will SUCCESSFULLY CONNECT to the chosen virtual network server.
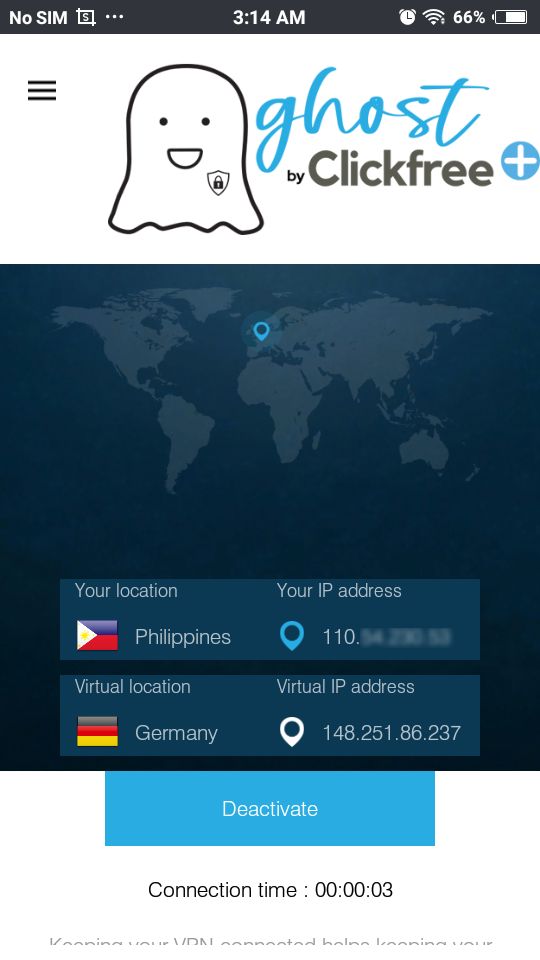
Sample only: Your virtual location with a virtual IP address is generated and acts as your virtual network provider.
Virtual IP address SUCCESSFULLY CONNECTED! (Your network server) You are now browsing anonymously. Your network server is secured from any type of internet data leakage. Enjoy surfing!
NOTE: To change/deactivate a virtual network IP server, just directly click "Deactivate"